
How do you get started with WooCommerce?
To get started with WooCommerce, you need a self-hosted WordPress site on a host that meets WooCommerce’s server recommendations. Install the free WooCommerce plugin, run the onboarding wizard, then work through the setup checklist: add products, set up payments, choose shipping options, configure sales tax, customize your store and launch it. Most new stores can be ready to test in a few days. Most of the time goes into product data, photos and policies, not the software.
This guide walks through each step in order, with what it costs, what your hosting needs and the settings new store owners most often get wrong. At PROSeCommerce, part of PROS Global in San Diego, we build and fix WooCommerce and Shopify stores, and this is the same sequence we follow for new clients. Facts about WooCommerce come from its official documentation and plugin page, read as of October 2026.
What WooCommerce is (and what it is not)
WooCommerce is a free, open-source ecommerce plugin for WordPress. It turns a WordPress site into an online store with product pages, a cart, checkout, orders, customers and reports. According to its WordPress.org plugin page, it has more than 7 million active installations, which makes it one of the most widely used ecommerce tools on the web.
Two points confuse many first-time sellers:
- WooCommerce is software, not a hosting service. Unlike Shopify, nobody runs the servers for you by default. You (or your host) are responsible for hosting, updates, backups and security.
- WooCommerce needs self-hosted WordPress. It runs on WordPress software you install on your own hosting account. If you are still deciding between platforms, our WooCommerce vs. Shopify comparison and our guide to choosing the best CMS for ecommerce cover that decision in detail.
What it costs to run a WooCommerce store
The plugin itself is free. The WooCommerce pricing page says the core software has no monthly subscription and no revenue share, and lists the costs most stores actually pay as of October 2026:
| Cost | What WooCommerce says | Notes |
|---|---|---|
| WooCommerce core | Free | Includes products, cart, checkout and orders |
| Hosting | About $25 to $350 per month for most stores | Depends on traffic, catalog size and support level |
| Paid extensions | About $29 to $299 per year each | Only if you need features core does not include |
| Domain name | Varies by registrar | Usually a yearly fee |
| Payment processing | Per-transaction fees set by your payment provider | Compare providers before you launch |
Your real budget depends mostly on hosting and on how many paid extensions and themes you add. Start with the core plugin and add extensions only when you have a clear need.
Step 1: Choose hosting that meets the requirements
WooCommerce publishes server recommendations. As of October 2026, for WooCommerce 10.8 and later it recommends:
- WordPress 6.9 or later;
- PHP 8.3 or later;
- MySQL 8.0 or later, or MariaDB 10.6 or later;
- a WordPress memory limit of at least 256 MB;
- HTTPS support.
The same page notes that WooCommerce still works on older setups (PHP 7.4 or later and MySQL 5.6 or later), but recommended versions are faster and safer. WordPress lists its own hosting requirements, which point the same way.
When you compare hosts, ask about:
- Managed WordPress or WooCommerce plans. These usually include automatic updates, backups and caching.
- Staging sites. A copy of your store where you can test updates before they go live.
- Daily backups and easy restores. You will need them the first time an update breaks something.
- Support hours and response times. A store that is down during a sale loses money every minute.
Our list of ecommerce web hosts explains what to compare in more detail.
Step 2: Install WordPress and WooCommerce
Many hosts install WordPress for you, and some offer WooCommerce pre-installed. If yours does not:
- Install WordPress from your host’s control panel.
- In your WordPress dashboard, go to Plugins > Add New.
- Search for “WooCommerce,” then click Install Now and Activate.
As soon as you activate the plugin, WooCommerce starts its onboarding wizard.
Step 3: Run the onboarding wizard
The WooCommerce setup wizard asks a short set of questions so it can configure sensible defaults. You will be asked which option best describes you (for example, whether you are just starting or already selling elsewhere) and for store details such as:
- your store name;
- what you plan to sell (physical products, downloads and so on);
- where your business is located;
- your email address.
Answer accurately, especially your location. WooCommerce uses it for default currency, units and tax settings. You can change every answer later under WooCommerce > Settings.
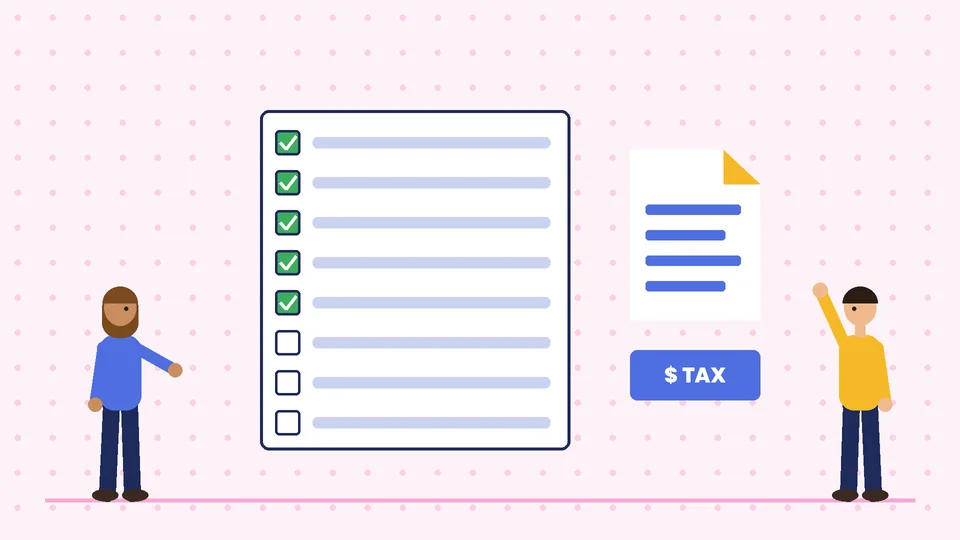
When the wizard finishes, you land on the WooCommerce home screen with a setup checklist. According to the documentation, the checklist covers adding products, setting up payments, customizing your store, collecting sales tax, setting shipping options and launching your store. The next steps follow that list.
Step 4: Add your products
Go to Products > Add New to create a product. The WooCommerce product documentation describes the main product types:
| Product type | Use it for | Example |
|---|---|---|
| Simple | A single item with no options | A coffee mug |
| Variable | One product with options such as size or color | A T-shirt in four sizes |
| Grouped | A set of related simple products shown together | A skincare set |
| External/affiliate | A product you list but sell on another site | A partner’s product |
You can also mark a product as virtual (no shipping, such as a service) or downloadable (a file the customer downloads, such as an ebook).
For each product, fill in:
- A clear product name that matches how customers search.
- Price and sale price.
- A short description with the key facts buyers need, and a longer description for details.
- Product images, with a consistent size and background across your catalog.
- SKU and stock settings if you want WooCommerce to track inventory.
- Weight and dimensions for physical items, so shipping rates calculate correctly.
- Categories and tags so shoppers can browse.
If you already have a catalog in a spreadsheet, WooCommerce can import products from a CSV file. Clean up the spreadsheet first: consistent names, prices and category names save hours of fixing later.
Step 5: Set up payments
From the setup checklist, choose Set up payments. WooCommerce offers its own payment option, WooPayments, and also supports many third-party payment gateways through extensions.
When choosing a payment setup, compare:
- Transaction fees and any monthly fees;
- Which payment methods are supported (cards, digital wallets, buy now pay later);
- Payout timing to your bank account;
- How disputes and chargebacks are handled.
Place a few test orders before launch. Most payment gateways have a test or sandbox mode, so you can confirm that orders, emails and payments all work without charging a real card.
Step 6: Configure shipping zones and rates
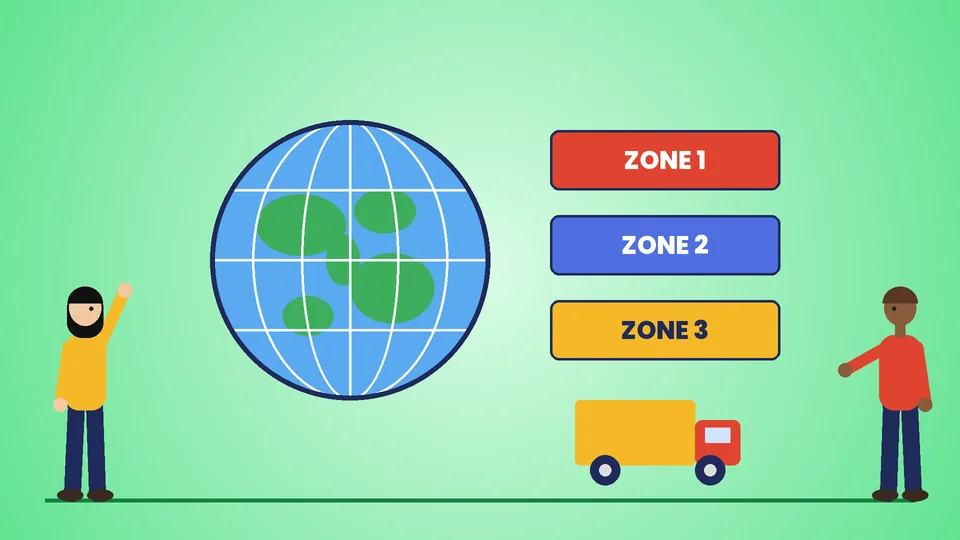
Shipping in WooCommerce is built on shipping zones: geographic areas, each with its own shipping methods and rates. The shipping zones documentation explains a few rules that trip up new stores:
- Each customer matches only one zone, the first one in your list that fits their address.
- Order zones from the smallest area to the largest. For example, put a local-delivery zone for a few ZIP codes above a “United States” zone.
- ZIP code ranges and wildcards are supported. For example,
902*matches every ZIP code starting with 902. - “Rest of the world” catches everything else. Customers who do not match any zone fall into it, so decide whether to offer shipping there or leave it empty.
Inside each zone, add one or more methods: flat rate, free shipping (optionally with a minimum order amount) or local pickup. Start simple. A flat rate for the continental U.S. and free shipping over a set order value is a common starting point you can refine later.
Step 7: Set up sales tax
Taxes are switched on under WooCommerce > Settings > General by enabling tax rates and calculations. A new Tax tab then appears where you choose, among other things, whether the prices you enter include tax and which address WooCommerce uses to calculate it.
The WooCommerce tax documentation is clear that WooCommerce provides the tools but is not a tax advisor. U.S. sales tax rules vary by state, and whether you must collect tax in a state depends on your situation. Check with a tax professional before launch. This guide is general information, not legal or tax advice.
Step 8: Customize your store and checkout
Choose a theme that is built for WooCommerce, then set up:
- Your homepage, with your best-selling categories and a clear value proposition.
- Navigation, so shoppers reach any category in one or two clicks.
- Policy pages: shipping, returns, privacy and terms.
- Store emails, with your logo and colors, under WooCommerce > Settings > Emails.
WooCommerce’s cart and checkout pages use Cart and Checkout blocks by default for stores set up since version 8.3 (released in November 2023). Blocks let you edit the layout in the WordPress editor without code. Some older extensions only support the classic checkout, so check that the extensions you need work with blocks before you change anything.
Speed matters as much as design. Compress product images, avoid installing plugins you do not use and choose hosting with caching. Security matters too: use strong passwords, keep WordPress, WooCommerce and extensions updated, and keep backups. Our ecommerce security guide covers the basics.
Step 9: Test, then launch
New WooCommerce stores start in Coming soon mode, so visitors see a placeholder while you build. Before you switch it off, run through this checklist:
- Place test orders for each product type and payment method.
- Check that order emails reach you and the customer.
- Confirm shipping rates for a local, a national and an out-of-zone address.
- Check tax calculations for at least two states.
- Test the store on a phone and a desktop.
- Read your policy pages and contact details once more.
- Set up analytics so you can measure visits and sales from day one.
When everything works, choose Launch your store in the setup checklist to turn off Coming soon mode.
Common WooCommerce setup mistakes
- Choosing the cheapest possible hosting. Slow, unreliable hosting is the most common reason stores feel broken.
- Installing too many plugins. Each one adds code, updates and possible conflicts. Add features only when you need them.
- Skipping product weights and dimensions. Shipping rates will be wrong or missing.
- Leaving the “Rest of the world” zone unplanned. Decide on purpose whether to ship internationally.
- Never testing updates. Use a staging site, and back up before every major update.
- No one owns maintenance. Someone has to apply updates and check the store every week.
WooCommerce vs. a hosted platform: a quick reality check
WooCommerce gives you full ownership and flexibility, and it fits naturally if your business already runs on WordPress. In return, you handle more of the technical work than you would on a hosted platform. If you want the store to run with as little maintenance as possible, a hosted platform may suit you better. Our comparison of Shopify vs. WordPress explains the trade-offs.
Frequently asked questions
Is WooCommerce really free?
Do I need coding skills to use WooCommerce?
How long does it take to set up a WooCommerce store?
Can I use WooCommerce on WordPress.com?
What hosting does WooCommerce need?
Can I move my existing products into WooCommerce?
Get help launching your WooCommerce store
WooCommerce is a flexible, low-cost way to sell online if you are comfortable owning your hosting and maintenance. Follow the steps in order: hosting, install, wizard, products, payments, shipping, tax, design and testing. That way, launch day is uneventful. If you want a team to set it up or fix an existing store, see our WordPress web development services or contact PROSeCommerce.